learning center
Note: we have a new, more up-to-date Knowledge Base live here.
This is a collection of short videos and guides to help you learn how to use Frame. Don't see a video for a certain topic and want to see it, or even make it yourself? Let us know: hello@framevr.io | For general troubleshooting, go here.
getting started
See how to move around Frame on desktop, create an account, and create your own Frame. This is a great place to start before moving on to other videos.
From Zero to Hero Tutorial series
Multi-part tutorial series that takes you through various aspects of Frame creation and usage. A solid starting point to the Frame metaverse, and then come back here for specifics on other features!
Virtual Classroom environments with frame
Nice intro to Frame from the perspective of Greg Kolowiec, an education technologist interested in 3D environments for remote and blended learning. (Contributed by @gregkulowiec)
PRESENTING WITH FRAME
Nice tutorial from "PowerPoint Spice" that gives a great overview of Frame and how to give presentations inside of it. This also includes a good walk-through of our "Scenes" feature that makes it possible to give spatial presentations.
getting started guide in portuguese
Here is a PDF guide in Portuguese graciously written by one of our users.
Comment créer une galerie virtuelle avec frame
Un tuto qui s'adresse à ceux qui souhaitent se lancer dans l'utilisation de framevr.io en créant une galerie virtuelle. (Contributed by the awesome Régine B-Berthois)
add aSSETS to frame
See how to add assets to your Frame, either directly or through your Inventory. Assets can be images, photospheres, videospheres, 3D models, pdfs, streaming screens, whiteboards, or spawn spots. See below for videos specifically about each asset type!
moving and editing assets
See how to move, rotate, and scale assets, as well as use other features in the Edit Menu. Click on an asset in Edit Mode. Then click and drag it to move it around. You can move your avatar while clicking and holding an asset to move it around throughout space.
ADDING LINKS TO ASSETS
See how to add links to assets to add different kinds of interactivity to them. You can add links to other Frames, websites, scenes within your Frame, locations within your Frame, notification triggers, and more.
For web links, you can have web links either open in a new tab or open in an embedded overlay at the bottom left corner of the Frame, using an iframe window. See this blog post for more about these embedded web links.
videos
Videos can be .mp4, .m4d, .avi, or .mov files, with a file size limit of 100MB and total limit of 500MB. Playing and pausing is synchronized for everyone in the Frame. All videos are muted for users until they manually unmute them. See video controls by hovering over a video with edit mode turned OFF. Anyone with interact permissions can see these video controls if they hover over a video.
photospheres
Photospheres can be .png or .jpg files, under 10MB. Need to compress an image? We recommend squoosh.app. Images should be equirectangular (width is double the height). With edit mode off, click a sphere to expand it. Then, look down for the "Close" button to collapse the sphere and return home.
Images
Images can be .png or .jpg files, under 10MB. Need to compress an image? We recommend squoosh.app. Transparency is supported on .png files, so it's a good way to add text.
upload your own 3d models
If you upload your own 3D models, they must be .glb format and 20MB or less. Ask around in our discord for tips on finding, converting, or optimizing models. If you want to upload your own 3D models as Frame environments, see the "Upload Your Own Environment" in the ENVIRONMENTS section above.
3D models with sketchfab
We use a Sketchfab widget to let you import models from there. Use the search filters to find smaller models (lower polycount) or animated models. Click on a 3D model in edit mode to turn on any animations it has on it.
360 videos in frame
You can upload equirectangular 360 videos (width should be 2x the height). Once you upload there may be some processing time. Once processed, play it by clicking on it while not in edit mode and it will expand and play immediately. You will see controls for pause/play/volume appear when a 360 video is playing. Collapse the sphere by looking down at your feet and using the RETURN HOME button. Videos are streaming, so the quality depends on both the file you upload and the internet speed of the viewer.
asset list
You can see a list of all of the assets in your Frame for easy deleting just in case you lose track of any. Go to the FRAMES tab, and you'll find it in the THIS FRAME dropdown.
PDFS
See how to import PDF files into Frame, switch between pages, and put them where you want. Images with transparency are supported and you can toggle on transparency by clicking on the pdf in edit mode and turning on the "transparent pdf" toggle.
Streaming screens and whiteboards
See the WHITEBOARD and the WEBCAM/SCREENSHARE sections above to learn more about these special assets.
Spawn spots in frame
Spawn Spots can be used to get users to spawn at or teleport to certain spots in your Frame. You just need to give your spawn spot a name to add it to a Frame, and you will see your spawn spots with edit mode turned on. Position them where you want. Then, you can either use special links or buttons to use them. You can also make sure that users are facing a specific direction when they use the spawn spot.
With buttons: In edit mode, click on an asset like an image. You will see a place to add links. One of the link types you can set is "location link". When you select that, you will get a dropdown of all of your spawn spots and you can pick one. Then, when users click on that image, they will get teleported to the spot you've picked!
With links: You can add the hash symbol (#) and the name of your spawn spot to the end of your url and anyone who uses that link will spawn right at your spawn spot.
Voice Zones
You can create your own private voice zones in FRAME. You can position and scale them as you please. People inside of a voice zone will be able to hear each other, but people outside the voice will not hear them or be heard by them!
Audio
Audio can be .mp3 files. Once you import audio, it will show up as a small sphere with a few controls: play, stop, and mute. If you play or stop it, it will play/stop for everyone in the Frame. If someone joins a Frame while audio is playing, it will catch them up to its current time and begin playing it for them. If you click on an audio sphere in edit mode, you can toggle whether it's positional (louder if you are closer to it) and set whether you want it to loop.
polls
Use polls to ask your audience a question. These polls can be anonymous or not. For a poll that is not anonymous, you can see who voted for what in the online user menu. For any poll, the general results will appear in a colorful pie chart in the 3D space.
TEXT Labels
You can add simple, short text labels to your Frame, and also turn them into buttons that can do a wide variety of things. You can change the text and background color.
Web Screenshots
Add a URL to Frame to see updated content from the webpage as an image. It is a great way to showcase reports and dashboards that change information in realtime. You can set the webpage to auto-update or refresh to access new data.
Audio Basics in frame
By default, FRAME will ask for microphone access from users when they connect to FRAME. If granted, mics will be active so that they can speak immediately. If the user doesn't have a microphone available, they can still connect.
ALL USERS SHOULD WEAR HEADPHONES to prevent echo/feedback, or should mute themselves if they aren't talking.
Users can mute/unmute their microphones with the mic icon at the top right, the "M" key on their keyboard, or the menu that floats in front of you in VR mode.
If a user has a mic muted, you will see a pink muted indicator above their avatar.
If you want microphones to be off by default in your Frame, you can set that in your FRAME settings. Go to the sidebar -> FRAMES tab -> THIS FRAME dropdown.
spatialization /megaphone
By default, audio is "spatialized" in FRAME, which means that you will hear people louder if you are close to them and will hear them quieter as they move farther away. Sort of how things work in the real world.
The audio is also "stereo", so if someone is to your right you will hear them a bit louder in your right ear.
In large environment, you may sometimes want to amplify your voice so that everyone in the FRAME can hear you, no matter how far away they are. To do this, you can click the megaphone icon in the top right. When activated, it will turn blue. With the megaphone active, your voice will be amplified evenly throughout the Frame so everyone can hear you.
voice zones
Select environments of Frame provide an option of activating Voice Zones.
These areas, marked with a distinct blue boundary line, allow users to have isolated conversations with other users within the zone.
You can use this feature to conduct meetings in a closed setup where only users within the same zone can communicate with each other.
You can also create your own Voice Zones by adding them into your Frame. See this tutorial.
speech to text
If you're logged in and have access, you can turn on Speech-to-Text in the Chat Settings menu within the sidebar. By default, when it detects that you have finished a phrase, it will send that phrase to the text chat. If you don't want it to auto-send your speech to the text chat, you can turn off auto-send, and instead the text will appear in the text chat input window and you can send it manually. You can select your Voice Input Language to help make the speech-to-text more accurate.
Admin CONTROLS
Adjust editing and viewing permissions in the FRAMES tab in the sidebar, in the "This Frame" drop-down.
Invite members and other admins.
To mute other users' microphones or boot them from your Frame, use the Online User menu at the top left. You can also use the "Gather To Me" button to gather everyone in the Frame around you in a circle.
single or multi user modes
Set how people interact with your Frame by setting User Modes. Allow isolated experiences with Single User Mode where each participant explores individually. Facilitate meaningful interaction with many users at once using the Multi User mode.
PERMISSIONS OVERVIEW
Creators/Admins can: Mute everyone's mics, adjust permissions, clear chat history, delete individual chat messages, change environments, boot users, and delete the frame.
Users with Editing Permissions can: Add, modify, or delete assets, change scenes, and use webcam/screen share.
Users with Interaction Permissions can: Change pdf pages, expand photospheres, and play/pause media.
Users with Viewing Permissions can: Connect to the Frame, use voice chat/text chat, create an avatar, and move around.
You can also set who has permission to use microphones or webcams.
Invite admins
You can invite Admins to your Frames. Admins can do just about anything you can do, like adjust any Frame settings, mute/boot other users, invite members, and edit the Frame. You can decide whether you want Admins to be able to invite other people to be Admins.
spectator mode
You can now allow your users to join as spectators when you enable Spectator mode. These attendees will be able to intereact via chat, but won't load up avatars, or get audio-visual interaction rights. This feature can help open up your Frame events to more people, without adding on to your management load.
go to menu
You can create a Go To menu to make it easy for your users to navigate to different locations within your Frame or even to other Frames. You can create this menu on desktop and mobile, and it's viewable on desktop, mobile, or VR.
enable flying
As an admin you can enable flying in your Frame, which means that you and your guests will be able to move in any direction while on desktop or mobile. Users still need to turn on fly mode to take flight, even if you've enabled flying for your Frame.
Be warned, though - someone with fly mode on will be able to move through the floor and walls!
broadcast message
As an admin or owner you can use a special command in the text chat to display a pop up message for everyone in your Frame. Just put /broadcast before your message and it will show up as a pop up for everyone.
BASIC BRANDING OF INTERFACE/AVATARS
If your Frame has it enabled (reach out to hello@framevr.io to ask about these plans), you can add an image of your choice to the load screen, the sidebar interface, and avatar shirts in Frame. This is not a "full whitelabel" of the product - it is still on the framevr.io domain, and our logo still shows up in a few other small places. That said, this is a powerful way to make your Frame feel more branded.
Duplicate your frame
You can now create a "remix" of your Frame where you can copy the content, the member emails, and the admin emails into a brand new Frame. If enabled, you can also let others create a copy of your Frame. This feature can be used to reset your Frames to a new name as well.
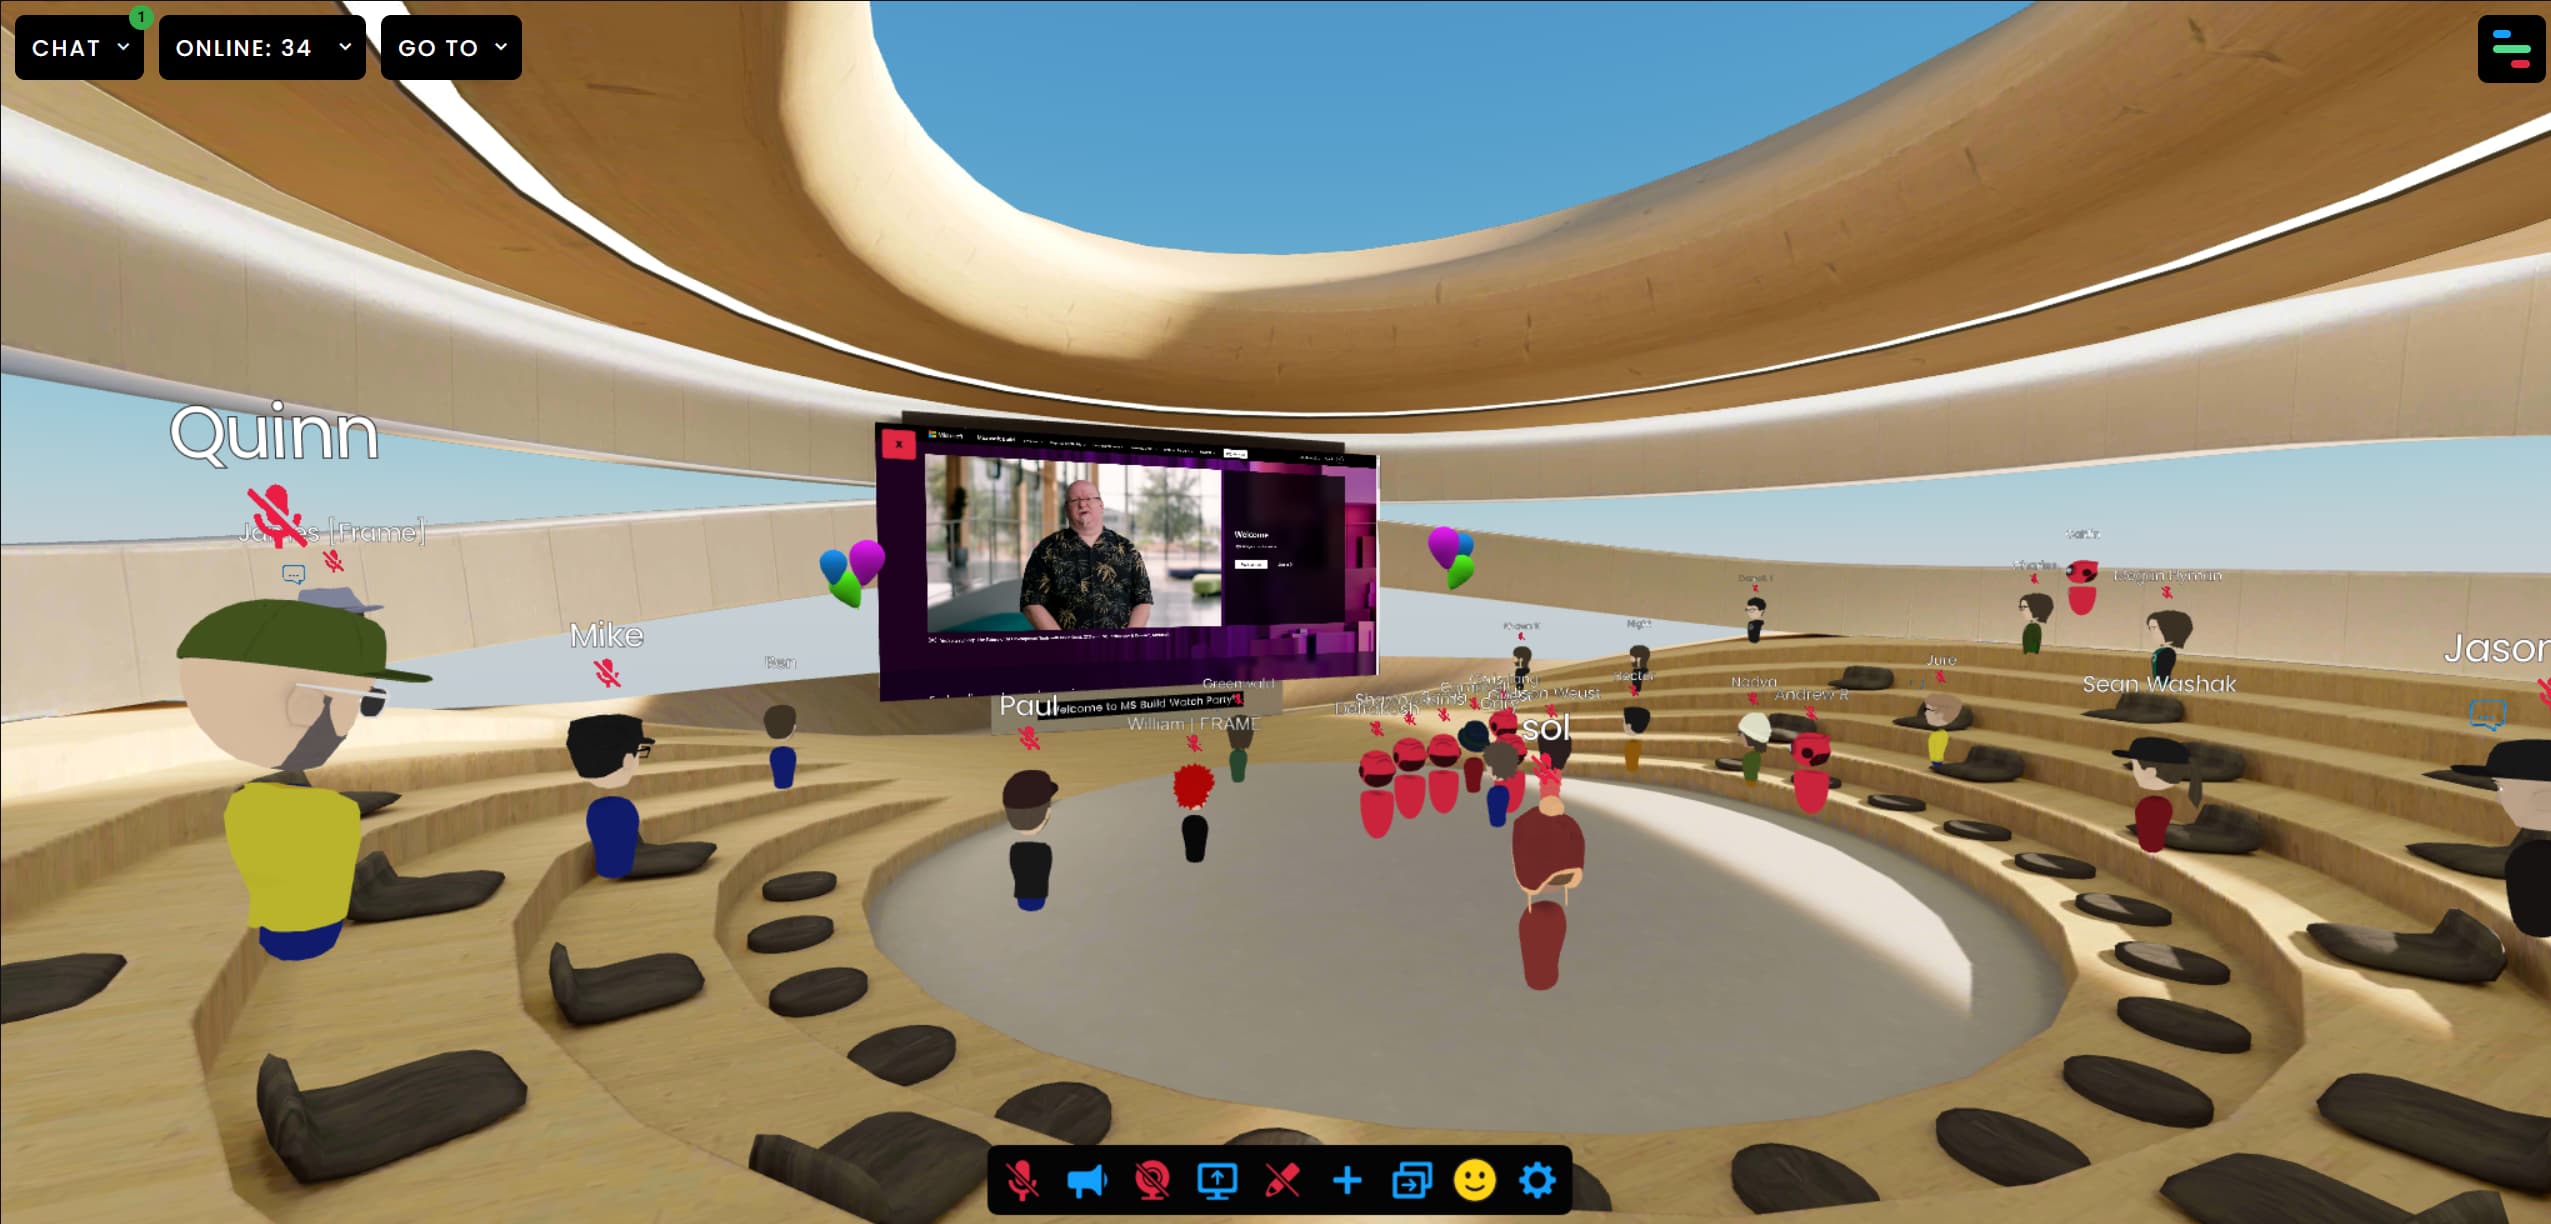
scenes
"Scenes" in Frame are sort of like "slides" in other presentation tools, but each scene is a rich 3D canvas. Move between scenes with the menu at the bottom center, the <> keys on your keyboard, or with the in-world menu that floats in front of you on mobile and VR. Click the "Scenes Menu" button in the sidebar for a menu that lets you add, rename, and re-order your slides, as well as give them thumbnails.
Understanding scenes - by steve guynup
Explore this interesting take on the Scenes by Steve Guynup, Visiting Data Visualization and Immersive Technologies Specialist at Miami University and long time VR enthusiast. Watch how Steve walks through Scenes and shares his take on using this powerful feature in Frame.
FAQs about scenes
Can we duplicate scenes?
Scenes can not be duplicated entirely, but you can duplicate individual scene assets using the dropdown in the edit menu.
Who can change my scene?
Anyone with the permission to edit can access your scenes menu and scenes icon on the quick access toolbar. If you hope to allow scene changes with permission to interact, you can add a link to different assets and let users change your scene.
PROFILE
Set a nametag, LinkedIn URL, Twitter URL, and profile photo in the "Profile" Tab of the sidebar.
avatars
Customize your avatar from desktop (recommended) or mobile. Use the C key on your keyboard to bring up the avatar menu, or the "Customize Avatar" button in your PROFILE.
Connections
Create your own community of friends or colleagues in Frame with Connections! Add fellow Frame users as a connection and get their online status across different Frames.
FAQs about avatars
My avatar resets every time I go to a different Frame, how do I save my avatar?
In order to save your avatar, you need to sign up and create an account. Once you sign in, your profile and avatar details will save to your account and will load up in every Frame you visit.
How can I change the logo on my avatar?
Logo based branding is specific to the Frame you are in. You can set this logo at a Frame level by activating the Branding Feature.
INVENTORY
Use the Inventory to create a collection of assets that you have at your disposal from the sidebar, ready to bring into any Frame that you created or that you have permission to edit.

Asset Library
To help maintain consistency across Frames, we've added a few default model assets in your inventory. These models are already a part of our environments, and now you can add more of them across your Frames.
Note: These models are traversable right now.
Text chat
Group text chat for everyone in your Frame is accessible from desktop and mobile at the top left of the Frame. Links you share will be hyperlinks, you can use emoji, and if you are the admin of the Frame you can clear the chat history and set whether you want history to be stored. You can also delete individual text messages.
Text chat translation
If you're logged in, you can choose to translate the text chat into many languages. This is a local setting, so multiple people can translate the text chat into the language of their choosing without it affecting the text chat for other users. You can hover over the translated messages to see the original language.
Web Browsers
PC, Chromebook, android
Use the latest Google Chrome.
MAC, iphone, ipad
Use the latest Safari.
VR
Use Firefox for Oculus Rift, HTC Vive, or Valve Index. Use the Oculus Browser for the Oculus Quest.
internet Connection
Frame requires a broadband wired or wireless connection. Minimum bandwidth is 1 MBPS (up/down) and recommended is 3 MBPS (up/down). The more people in your Frame, the better connectivity is required for a smooth experience.
operating system
Mac, iphone, ipad
OSX or iOS/iPadOS 15 +
Android
Android 10 or later
PC
Windows 7 or above
mic/headset
You need a microphone in order to connect to frame, and we strongly recommend headphones to help reduce feedback or echo.
desktop
Use the arrow keys on the keyboard or the WASD keys on the keyboard to move and look around. You can also click and drag on the mouse to look around. If you're logged in, go to your Profile and you will see a section where you can change your movement controls.
If an admin has fly mode turned on, and you're logged in, you can turn Fly Mode on in your Profile in the sidebar. That lets you move in any direction, and it means you can even move through the floor or walls - so beware!
mobile
You should see a toggle in the bottom left of the screen that you can tap and drag to move yourself around the space. Tap and swipe on the screen to look around.
virtual reality
On a standalone device like the Oculus Quest, use the Oculus Browser and navigate to a Frame link. While in 2D mode, log in to the sidebar, and then click the CONNECT button. Then, the VR button will appear in the bottom right. Click it to expand into immersive mode. Then, you can move around by walking or by using the joystick on one of your controllers. Look around by looking around - we know we should have controller-based rotation, but we haven't gotten there yet!
On a PC VR system, you can walk around or teleport with a joystick on one of your controllers, and look around by looking around.
Go To User
In the Online User Menu at the top left, you can click the blue arrow button next to someone's name to teleport close to them.
What you need to know
FRAME has been tested on the Oculus Quest, Oculus Rift, and HTC Vive. We've heard that it also works for the most part on the Valve Index, and we suspect it works on most other headsets so long as they are WebXR compatible. On Oculus Go, users can currently join and participate, but movement is not possible. Frame does not work on Google Cardboard.
On a PC VR headset , we recommend using Firefox. On Oculus Quest, we recommend using the Oculus Browser. Once you navigate to a Frame link in a browser, you should sign in if you have an account while in 2D mode, and then click the "CONNECT" button. Then, the VR button will appear in the bottom right of the browser and you can click that to expand Frame into immersive mode.
In VR mode, you can move around by walking around or by using the joystick on one of your controllers. Look around by moving your head around (controller-based rotation is coming soon, we promise!).
There are lots of features available to you in VR mode, but not everything. We recommend that you do a lot of the Frame creation/setup on desktop/mobile mode, because right now the only way to bring assets into your Frame is in desktop/mobile mode.
In VR mode, your menu can be opened up by clicking on a small button with three lines that will be hovering in front of you if you look towards the floor. Open the menu with the trigger on your VR controller. Your controllers have lasers sticking out of them that you can use to point at things and "click" on them. Here's what opening the menu looks like and then an image of the menu:


You can point with your laser pointer and use the trigger on your VR controller to select a menu item.
- The mic button will toggle on/off your microphone
- The edit button will toggle on/off edit mode (this will only be clickable if you have signed in and have edit permissions for the Frame). With edit mode on, you can click and drag on assets in the Frame to move them around, and also make them bigger or smaller by clicking on them with both controllers and doing a stretching motion outward and inward.
- The laser pointer button will turn on/off your laser pointer (a laser pointer that will be visible to others in the Frame)
- The previous and next scene buttons will let you move to the previous or next scenes in the Frame (these will only be clickable if you have signed in and have edit permissions for the Frame)

We'll be bringing lots of other functionality to VR soon - stay tuned!
WEBCAM + screenshare
You can add streaming screens in the ADD TO THIS FRAME dropdown of the sidebar. The streaming screens have the FRAME logo on then, and those that are logged in and have interact permissions in the FRAME will also see buttons for "Share Webcam" and "Share Screen". You can add additional streaming screens to a Frame in the ADD TO THIS FRAME drop-down in the sidebar.
On Chrome and Edge, you can also share audio through a screen share! So yeah, you can play YouTube videos and have watch parties. :)
Tip: you can pick what webcam your browser will use by checking what is selected in your browser device preferences.
There is also a "MIC/CAM SETTINGS" button on the connect panel, when you first join a Frame. You can use that to make sure your browser is using the right device.
Avatar cam mode
In the sidebar, everyone will see a toggle for "Avatar Cam" Mode, unless an admin has disabled this feature. There is also a webcam button in the toolbar UI at the bottom center on desktop.
Turning this on will attach a view of your webcam right next to your avatar, and it will move around with you as you move around. You will also see a local view of your webcam in the bottom left. Anyone can use avatar cam mode, no matter their permission level and even if they aren't logged in.
This is a convenient way to quickly bring a webcam into Frame without needing to perfectly position one of the streaming screens. If you need a big screen, though, or if you want to screen share, you'll need to use a streaming screen asset.
green screen transparency
If you upload video assets with a green screen background, or if you use a video source with a green screen background as a webcam on a Streaming Screen, you can use our green screen toggle to get videos with a transparent background.
Turn on Edit Mode and click on the video asset or streaming screen and then turn on the "Green Screen" toggle. Any video with a green screen background will then have a transparent background, even a live webcam on a Streaming Screen!
ENVIRONMENTS
Change the base environment in your Frame by going to the Frames tab, then the "This Frame" dropdown. You'll see an environment picker there. The video here gives a quick tour of a few environments - but we add more all the time. :)
environment FLOOR PLANS
If you want to see top-down views of Frame environments so that you can make your own maps or guides for your users, here is a folder with all of the Frame environment floor plans.
Upload your own environments
You can upload your own 3D model to use as your Frame environment, so long as you follow some of our guidelines and formatting requirements. See our blog post about this topic!
MAPS
Bring in the map of any city, hill, or spot as an environment in Frame. Use the latitude/longitude to set a location, enable terrain to experience the elevation, and choose between eight different map views.
WHITEBOARD
Add whiteboards to your FRAME in the ADD TO THIS FRAME dropdown in the sidebar. Add as many as you want. Use the whiteboard by drawing on it with edit mode turned OFF. Anyone with interact permissions can use whiteboards. You can also save whiteboard drawings to your computer.
Particles
Particles are visual effect systems that let you create things like snow, smoke, fireworks, and more. You can create your own systems using the Babylon Particle Editor and bring them right into Frame. Here's a blog post that gives a written guide.
SHADERS
Shaders are powerful visual effects that can manipulate a mesh's geometry or color. See how to find some ready-made shaders, find your own, and even start creating your own that you can bring into Frame. Make your metaverse pop!