Custom Shaders and Particle Systems in Frame Environments
TLDR - when creating your Frame environment with Blender, include the ID of a babylon.js shader or particle system in the name of any mesh, and that shader or particle system will load on it inside of Frame when you or your audience visit your Frame. For example, putting shader_nm_#FK4UT3#6 in the name of a mesh in your environment will result in shader #FK4UT3#6 being applied to that mesh in your Frame environment when you visit it in Frame.
Frame is the easiest way to carve out your own corner of the metaverse with assets like 3d models, 360 photos, web browsers, and a whole lot more. It runs right from the web on desktop, mobile, and VR. It's the easiest way to create an immersive office, classroom, gallery, or hang out space. It's also simply a great way to come together to look at things together, whether those things are digital twins, advanced visualizations, 360 photos, and a whole lot more.
Just because it runs on the web browser, though, doesn't mean you can't achieve fantastic looking visuals. Another blog post of ours gets into achieving real-time dynamic lighting, but this one will get into using custom shaders and particle systems inside your Frame environments using Blender.
Suggested background knowledge: shaders, particle systems, Blender
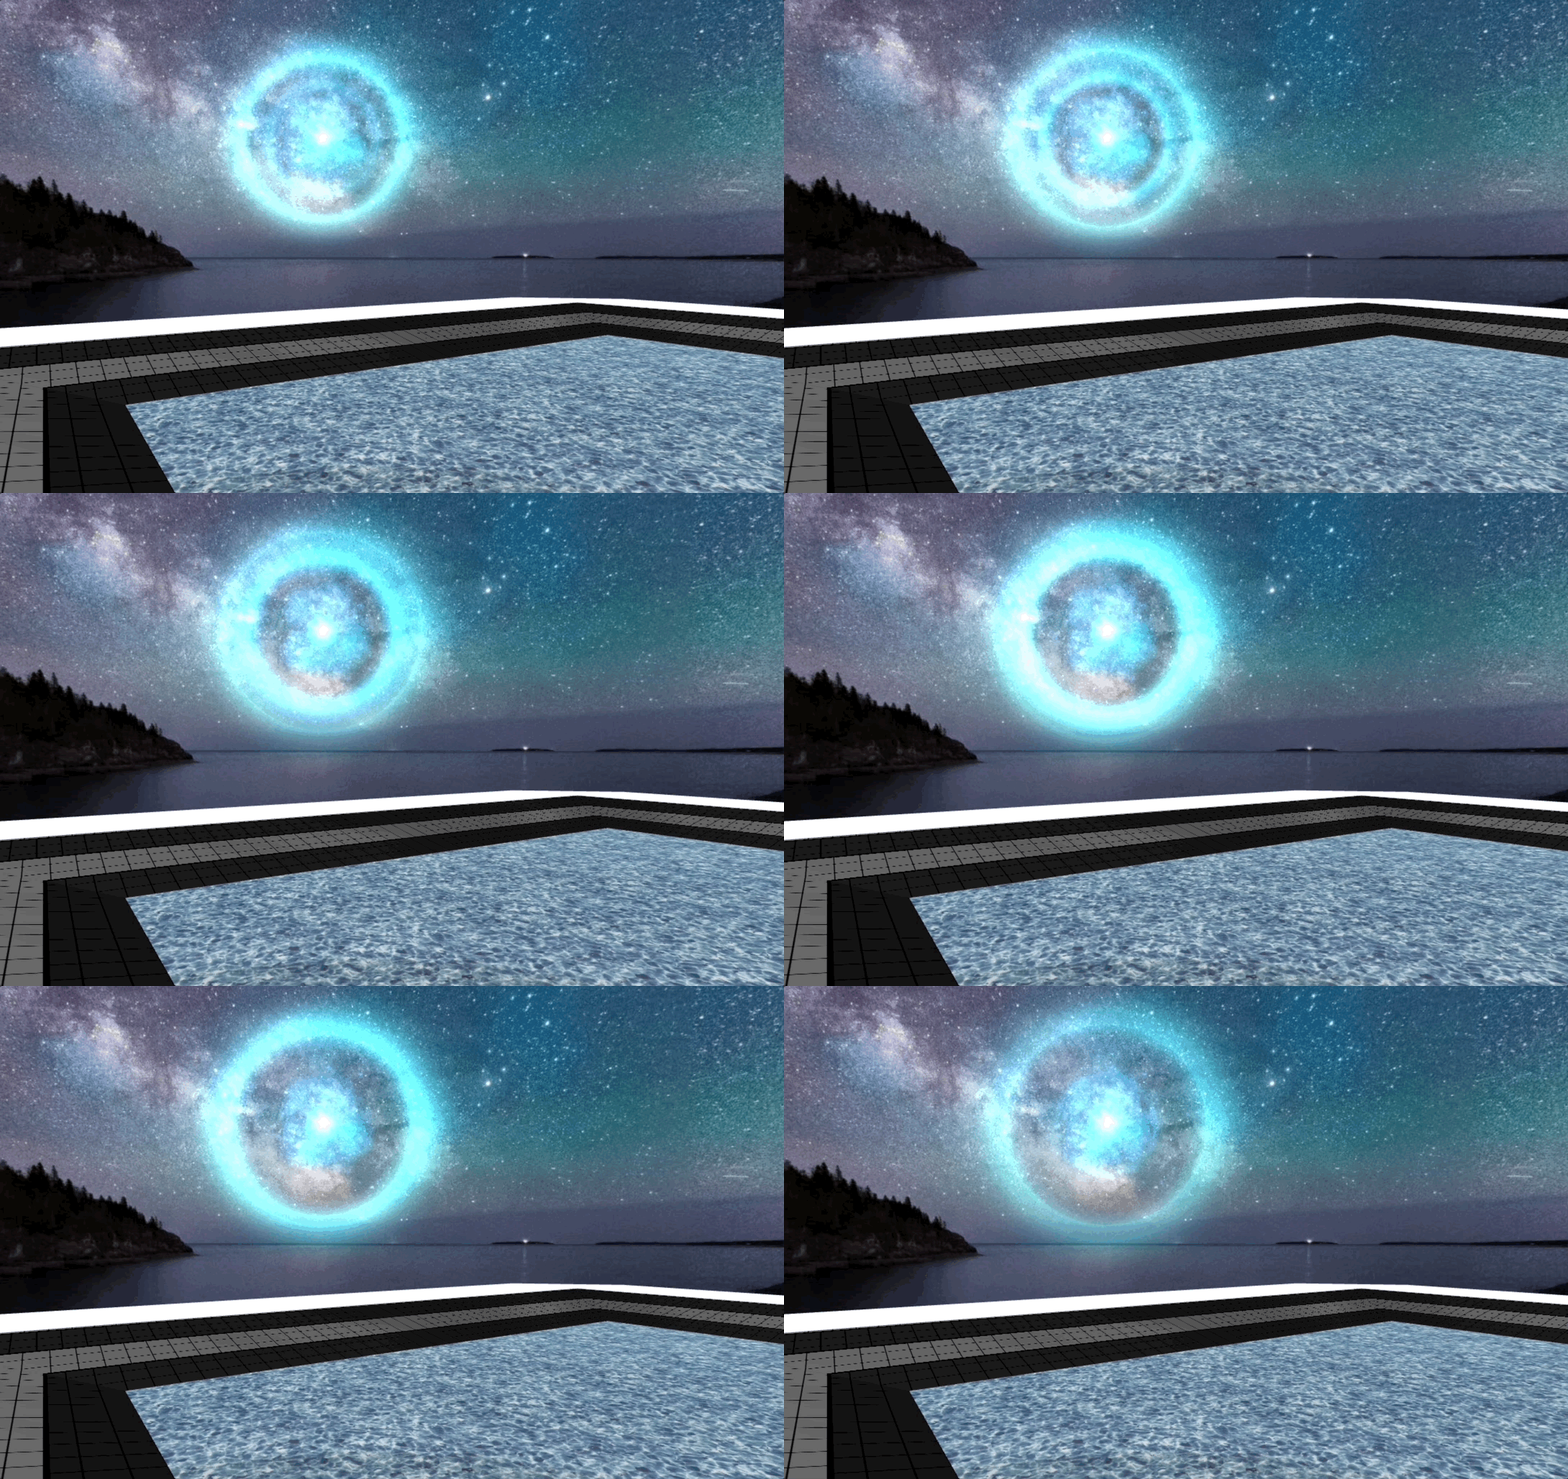
Let's dive in. Frame is built with babylon.js, a powerful, open-source development framework from Microsoft. You can read more about why we chose babylon.js here. Because we use babylon, shaders or particle systems created with babylon.js tools work really nicely in Frame. For example, babylon.js has a node-graph shader creation tool called the Node Material Editor that lets you create shaders, sophisticated virtual effects that run on the GPU. They also have a no-code particle system creator that lets you create stunning particle systems, like this one:

Note: If you want to dive deeper into the Babylon tools for creating shaders or particles, check out this tutorial on creating a particle system with their Particle Editor and these tutorials here and here that guide you through some shader creation using the Node Material Editor.
If you want to bring those shaders or particles into Frame at run-time, like bringing something into Frame on the fly during a meeting or class, you can do that while in Frame itself (which is pretty cool!). Here's a tutorial about how to do that. You can do this without Blender, and in fact you don't even need to know how to create your own shaders or particle systems - the Frame Library has a bunch you can use for free.
However, let's say you wanted to include these shaders or particle systems inside your environment model itself, and set things up using Blender or another 3D modeling tool. There are a few reasons why you would want to do this. For starters, the shader you include in your environment won't be "modifiable" like it otherwise would be if you brought it in at runtime. So, other users with edit permission won't be able to edit it or remove it - it becomes a permanent fixture of the environment.
Using something like Blender to set up your shaders also lets you apply the shader directly to meshes in your environment model. In contrast, when you bring in a shader asset at runtime, we create some geometry and apply the shader to it and you can manipulate it to place it where you want. However, if you do this in Blender, you can pick meshes from your environment model and have the shader applied to it. This means you won't need to try to drag and drop anything into place at runtime.
So, let's get into how to do this!
It's actually pretty easy. When you create and save a shader or particle system using Babylon's tools, a unique snippet ID is generated for it.
In Blender, just include that snippet ID in the name of the mesh you want to apply it to, and then when it loads in Frame that shader or particle system will be applied to it. You have to use a particular naming convention when doing this. Put shader_nm_snippetID in the name of the mesh, of course replacing "snippetID" with the actual shader snippet ID. For example, putting shader_nm_#FK4UT3#6 in the name of a mesh in Blender will apply that particular shader to that particular mesh. For particles, use particle_effect_particleID.
Here is a Frame where Frame teammate Eric Eisaman has loaded in a .glb file he created in Blender that leverages this technique to put a beautiful crystalline shader on the floor, and a sweet sparkly particle system in the sky: framevr.io/blender-shader

To see the files themselves, here's the end result .glb file Eric exported from Blender, and here's the Blender file itself.
We'll be adding more tools like this that help you do more advanced things using Blender as you create your Frame environment. If you keep an eye out, you'll see that Eric also made one of the meshes in his model a "chair", which gives it specific behavior in Frame. More on that later!
We look forward to seeing what you create! Make your metaverse magical.
You might Also Like

An Educational Use of FRAME in an ESL Class
This guest post is from an ESL teacher in France who uses FRAME with her ESL class. See how she uses it.
Read More
FRAME Update: Private Voice Zones, Notifications, a New Office
Private Audio Zones, New Zen Office, and Notifications. Sweet.
Read More
Uploading Your Own Frame Environments
See this guide if you are creating your own 3D environments for FRAME.
Read More