Lights + Animated Lights in Environments
When we tell people Frame is a metaverse platform that runs right on the web browser, many assume that means it will have low-quality graphics. For some, whether it does or doesn't simply isn't a major concern. This makes sense to me, because it's not the case that "good graphics" are necessary for the feelings of co-presence and shared space that make the metaverse so powerful.
That said, for those who are interested in a more "realistic" look, or who want to add certain kinds of visual flair to their metaverse environments, it's possible to get very rich visual experiences rendered right from the web browser. When we say "from the web browser", we do not mean "a native application streamed from the cloud to render in a web browser". Streaming technology is powerful but can be prohibitively expensive. We actually mean built with web technology and web standards - a good ole' website like Frame.
While we provide lots of ready-made Frame environments for you to choose from for your metaverse destinations, we also let you upload your own 3D models as Frame environments.
This quick post is part of a series of posts on some more advanced techniques you can use in your Frame environments.
Lights
Before we dive into the fun animated lights, it's worth pointing out that generally, for the best performance, we recommend using baked lighting, lightmapping, or vertex coloring to achieve the light you desire without incurring the performance costs of real-time lighting. When using those techniques, you can set all of your materials to be "unlit", which means they won't try to respond to any lights in the scene - the light effect will already be baked or mapped to the model with these other techniques. These techniques pre-compute or pre-configure the desired lighting in the scene so that nothing is computed in real-time.
Note - we have a tutorial on baked lighting in Frame here.
If you want to put your own lights into Frame to render in real-time though, we provide that option as well.
For starters, the .glb file you upload can include its own lights. This is because the gLTF spec supports light nodes as part of the gLTF scene. Frame includes a default hemispheric light in the scene to provide default lighting in Frame, so we had never actually experimented ourselves with including lights directly in custom environment uploads. In fact, we first learned about this because a Frame user experimented with it and pointed it out to us! So, simply including your own lights in Blender will bring them in to Frame - but keep in mind they will be added to the scene in addition to our default hemispheric light, they won't replace it.
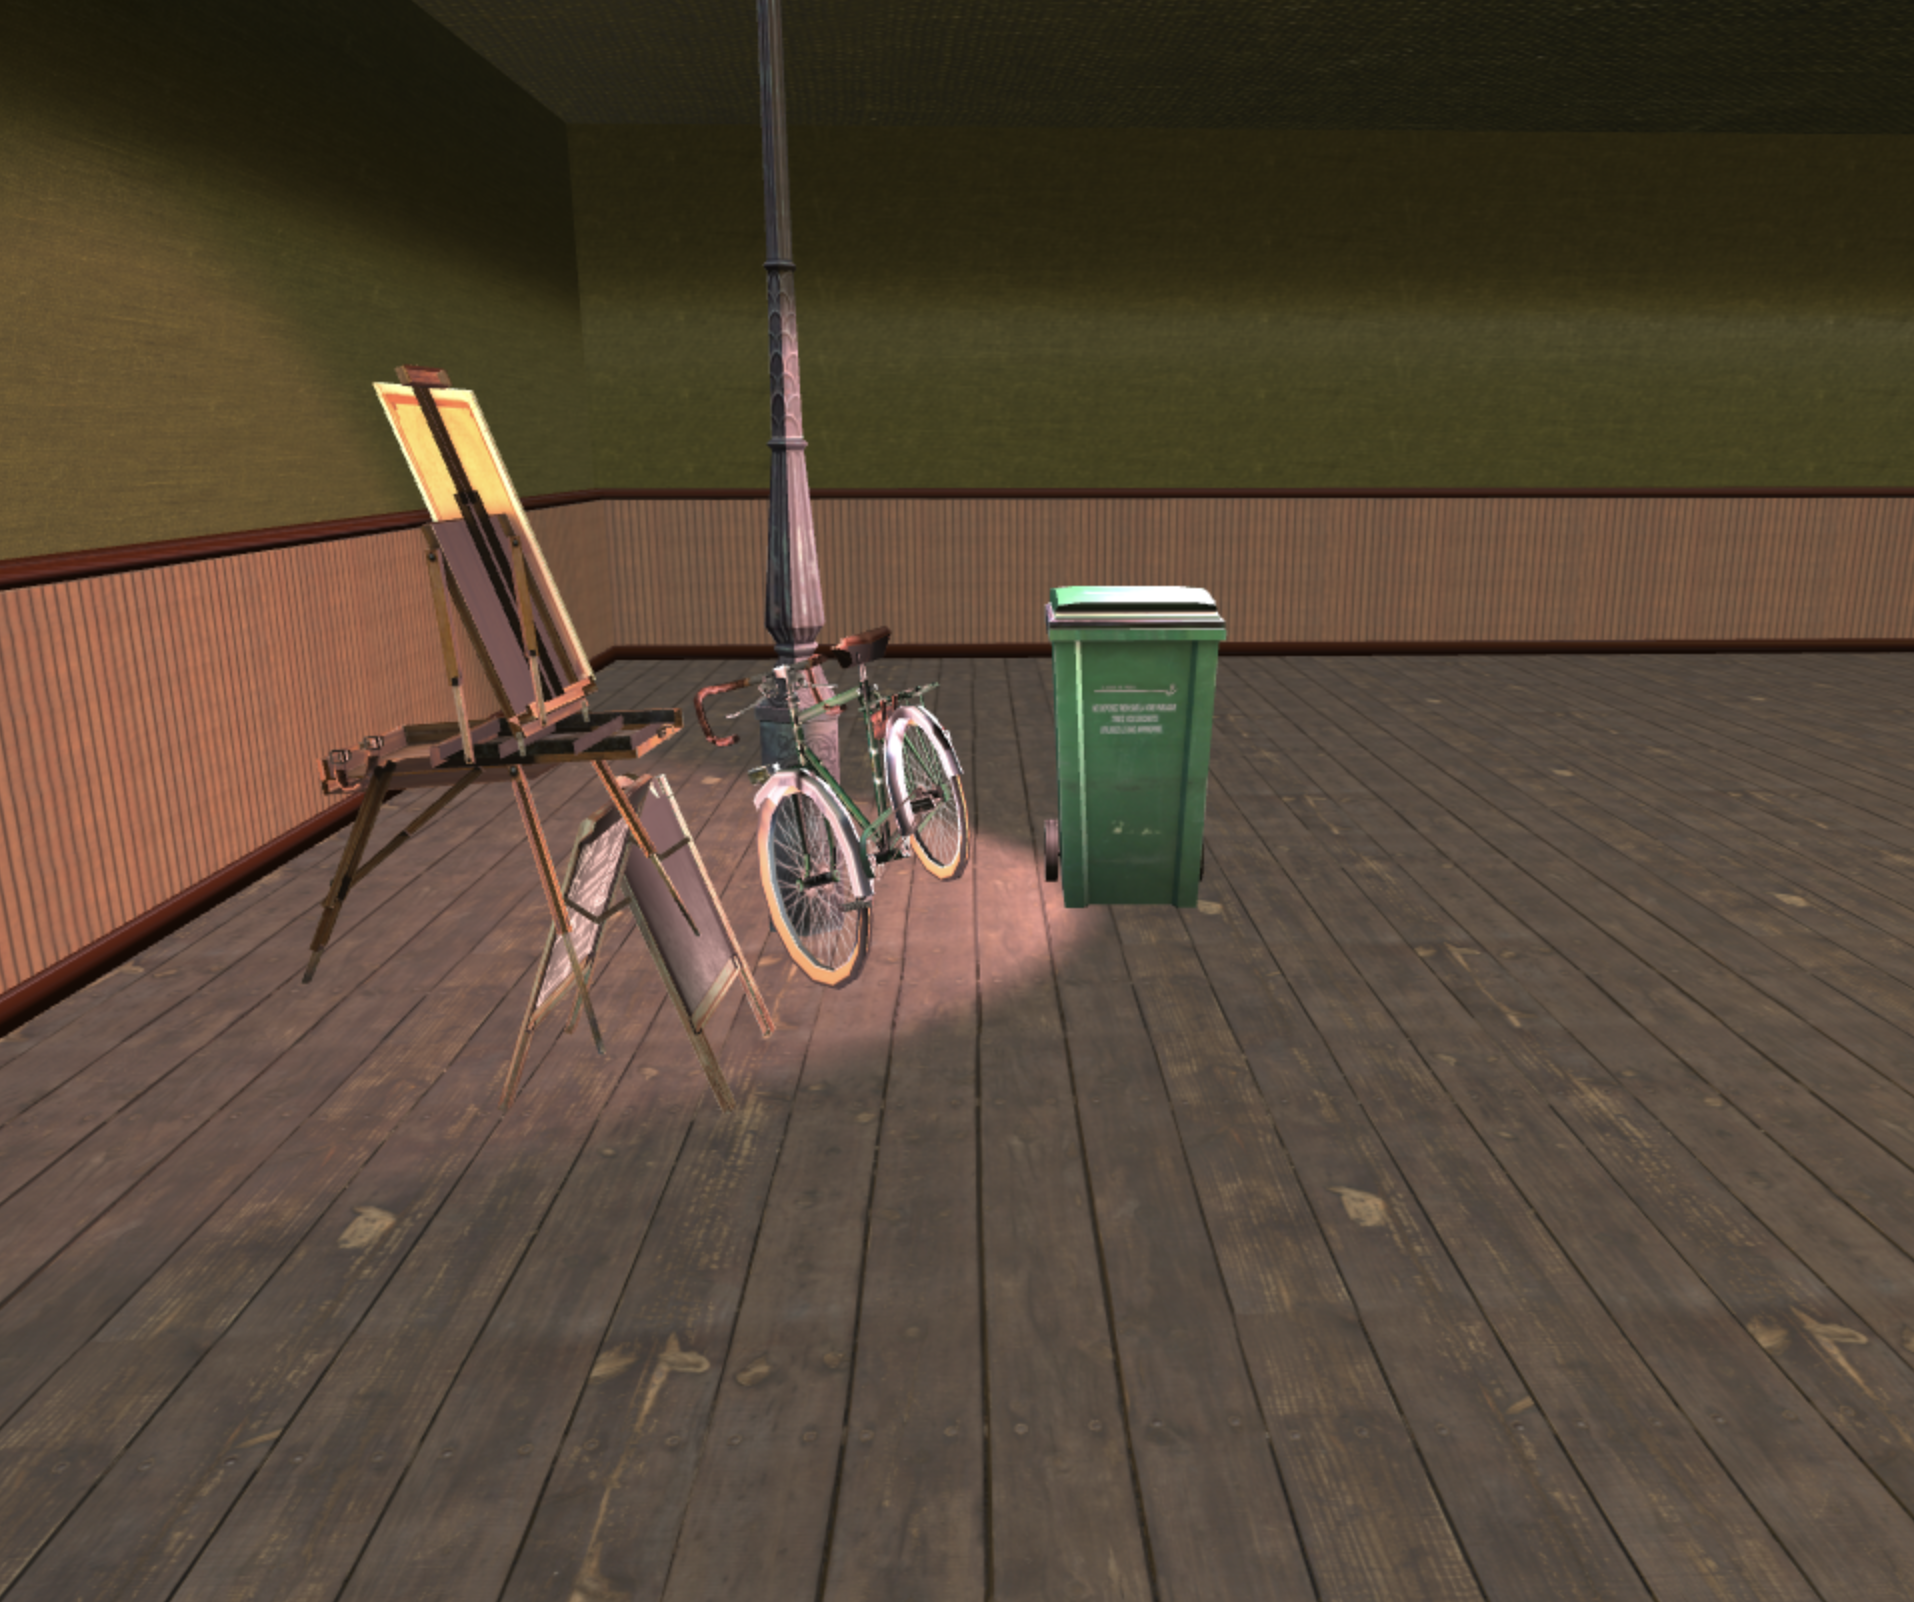
Check out this Frame created by Frame user Felipe Versick that shows off some lights. Felipe was gracious enough to share a Blender file of a scene with some lights set up so that you can explore how he did it. He also authored the "Blender Setup" section of this blog post down below if you want to skip right to it!

Lights that impact materials in the scene in real time can take a toll on performance, so you want to be cautious with how many lights you include. We also don't let you include more than 6.
Notice that the bike and other 3D models are able to "get lit up" by the light. This is because they are using "lit" materials, in contrast to the typical "unlit" materials we recommend when you are using pre-baked lighting.
Just to clarify, the effect you see in the still screenshot above is 100% achievable with baked lighting or a lightmap, and using those techniques would be more performant as well. However, those techniques have some limitations. For example, the light can't be particularly dynamic or change based on real-time conditions.
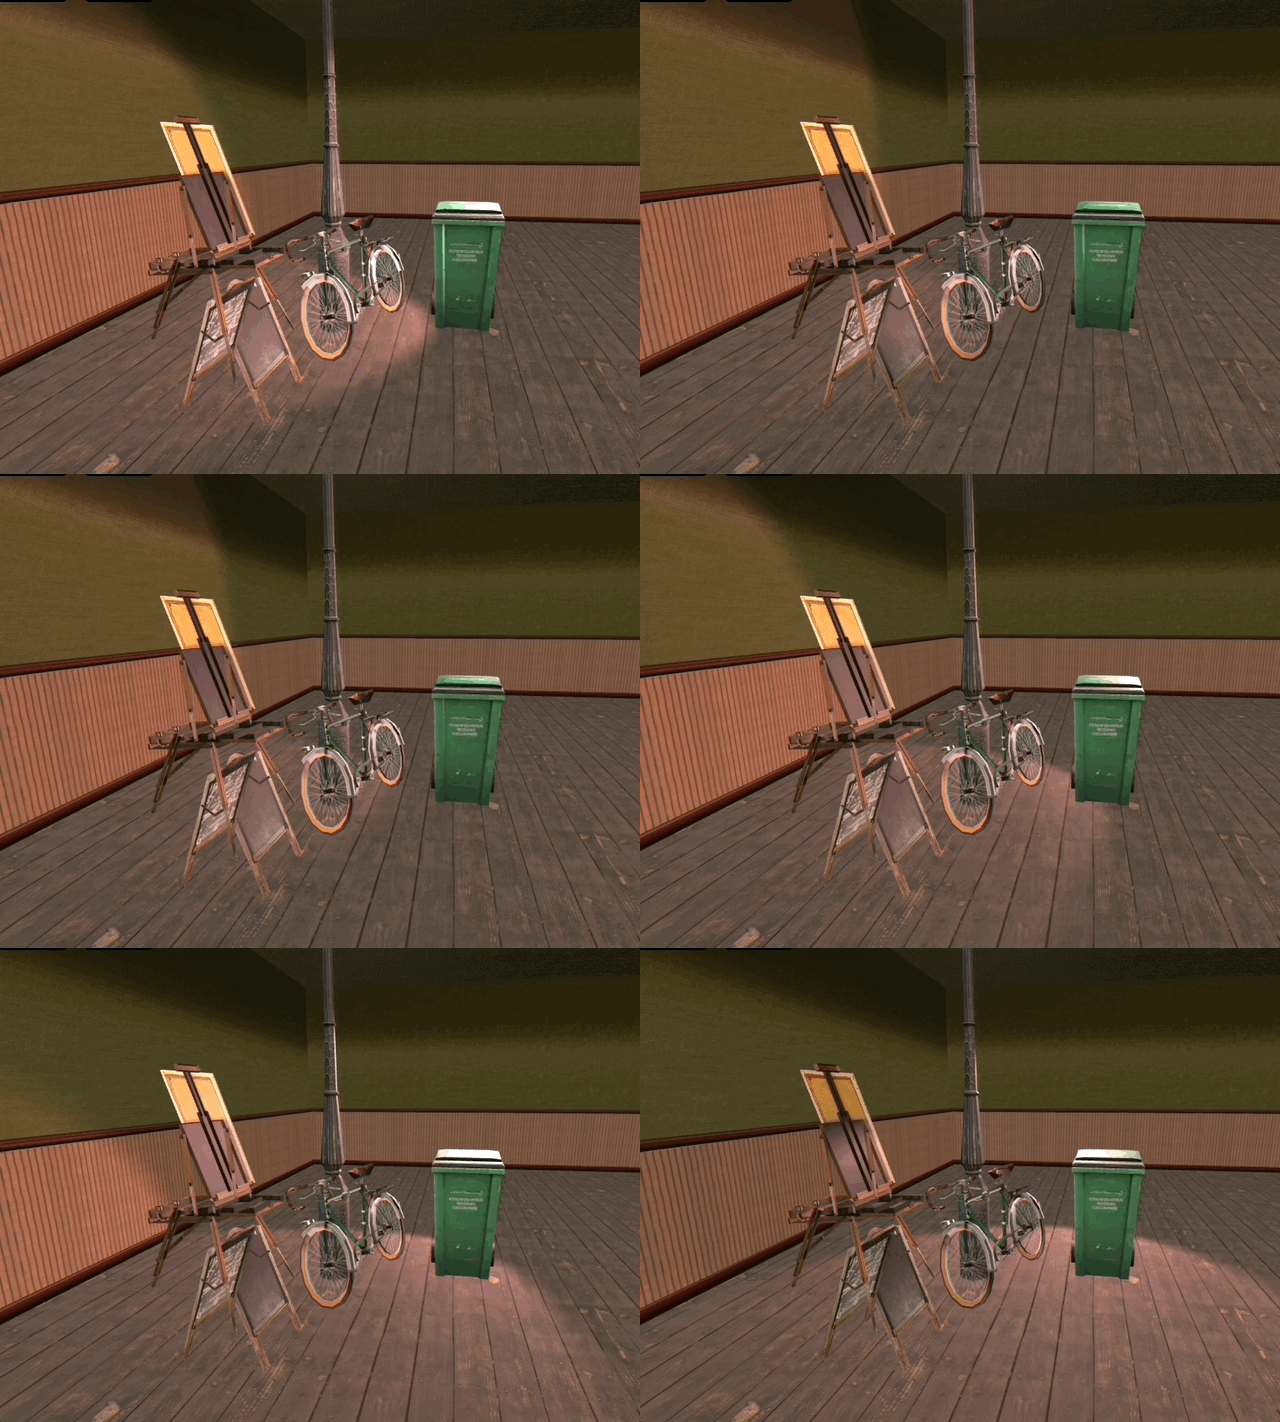
So, for example, if you go into that Frame from above, you'll see that the lights are actually moving around in the scene, and the models are responding in real time to the moving light! This is only achievable with your own lights in the scene.

Animating Lights
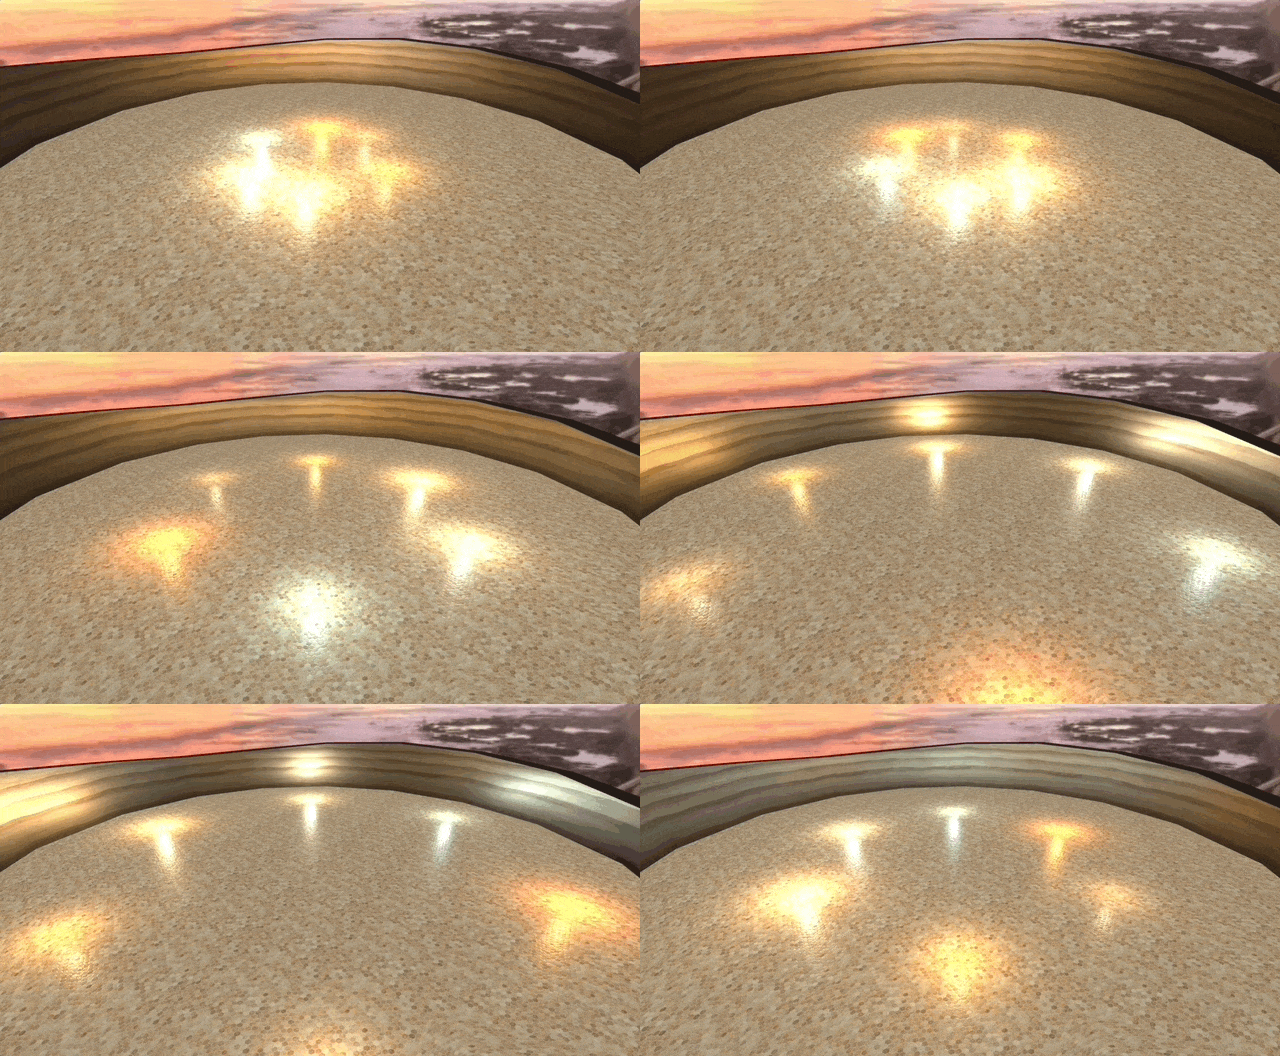
Let's dig into the animation piece a little bit. The truth is that if you've done animations before in Blender then you're good to go. You can simply apply a keyframe animation to the light node itself in Blender. Frame plays the animations in your uploaded .glb files by default, so your light animations should "just work". You could also put a parent node on the light and put your animation on the parent node. You could have a few lights all as children to the same parent node and then animate the parent node to animate them all at once, like in this example:

If you'd like to visit this Frame, here's the link.
Notice how gorgeous the floor and walls look as they respond to the lights!
While I've been very cautious about the performance caveats of real-time lighting, it's worth pointing out that I'm able to enter this Frame on my iPhone and achieve a silky 60fps without any issue. But your overall performance in Frame depends on a variety of factors, like the other assets you've uploaded to it, how many videos are rendering, how many people in it, etc. So, it's just one thing you need to weigh as you evaluate the balance between visuals and performance.
Blender Setup (by Felipe Versick)
Note: the below is a guide from Frame user Felipe Versick that shows you how he set up his example file.

First of all, we need to know what to export. When exporting and importing environments/3D Models into Frame you are using the gLTF format most of the times. This brings many options around what you can export together with your model. If you want to know more about glTF 2.0 check this link (blender documentation). For now, you just need to know two things:
- glTF 2.0 supports punctual lights (point, spot and directional)
- glTF 2.0 supports animations (keyframe (translation, rotation and scale), shape keys and armature/skinning)
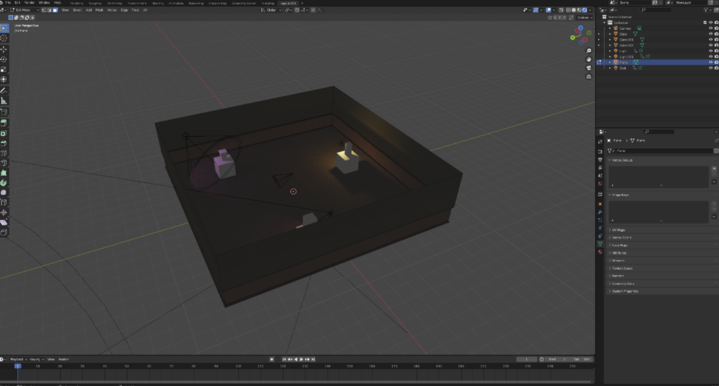
So everything you need is your environment (in this case a room made from a plane + textures), punctual lights, and animations sitting on those punctual lights.
.png)
But there is one thing to keep in mind! The lights will act different once imported into frame. The lights will be way brighter, so make sure to lower the exposure before exporting. Personally, I find 100W (Blender) to work fine. But it really depends on your scene and the color of your light.
.png)
So how do I animate those lights?
As mentioned above, gLTF supports three types of animations. For those animations to make it into your exported environment, they need to be connected to your lights. That means either animating the lights directly, or putting a parent node on your lights and animating the parent node. Just check the animation documentation of the 3D software of your choice.
The easiest way is to animate the lights is with keyframes. I will explain how to do it in Blender, but the process shouldn’t change too much in other software.
.png)
1. Choose the light of your choice and press i/left click > add keyframe. Now u can see a list of keyframe u can add. Keep in mind that that gtFL only support location, rotation and scale.
2. Now select a different keyframe and move/scale/rotate your light as you want and add the same keyframe as before. That can look like the following:
.png)
Congratulations, you animated your light!
So how do I export it in my .glb file?
Select your light, environment and everything else u need in your frame. Then go to file > export > glb/gtlf
Use the export options you need or copy those below. For this use case you want to include animations and punctual lights.
Now import your environment in frame and reload the frame after uploading it. I recommend testing Frame's optimize function which you will see in their model uploader and see if it breaks anything. If you just want to use static light in your scene without animations, you can skip the animation step. But keep in mind that baking static light into your scene will almost always be the better option.
This method of lighting should only be used when you nee to have animated lights in your scene, and you have to keep in mind that scenes set up this way may not be as performant on lower end hardware. If you don't need your lights to be moving, you should just be baking your lights in the scene with other techniques (like a lightmap).
In Closing
So, there you have it! If you experiment with lights or animated lights in your Frames, we'd love to check it out. Feel free to drop a link on our Discord, or any questions you have about the process!
Create your own Frame and upload your own custom environments to it for free at learn.framevr.io
You might Also Like

Frame Update (June 15)
Attach webcam to avatar, upload your own 3D models, see asset list for your Frame, and more.
Read More
Shaders in Frame
Shaders are stunning. You can now bring them into your metaverse in Frame.
Read More
Frame Update: Apple Vision Pro Support, 3D Model Generation, and More
3D Model Generation, Apple Vision Pro Support, and More
Read More