

Photospheres are images captured in every possible viewing direction. You can take photospheres with special cameras or by stitching together lots of regular images. They provide an easy way to give a nice background to your VR scene or to transport viewers to a particular place you want to showcase.
A-Frame works best with photospheres that are equirectangular. There are lots of places where you can find equirectangular photospheres if you're looking for some to play with in your project. Here's a Flickr library full of equirectangular images! You can also do a search on google images or Wikimedia Commons for "equirectangular" for more examples.
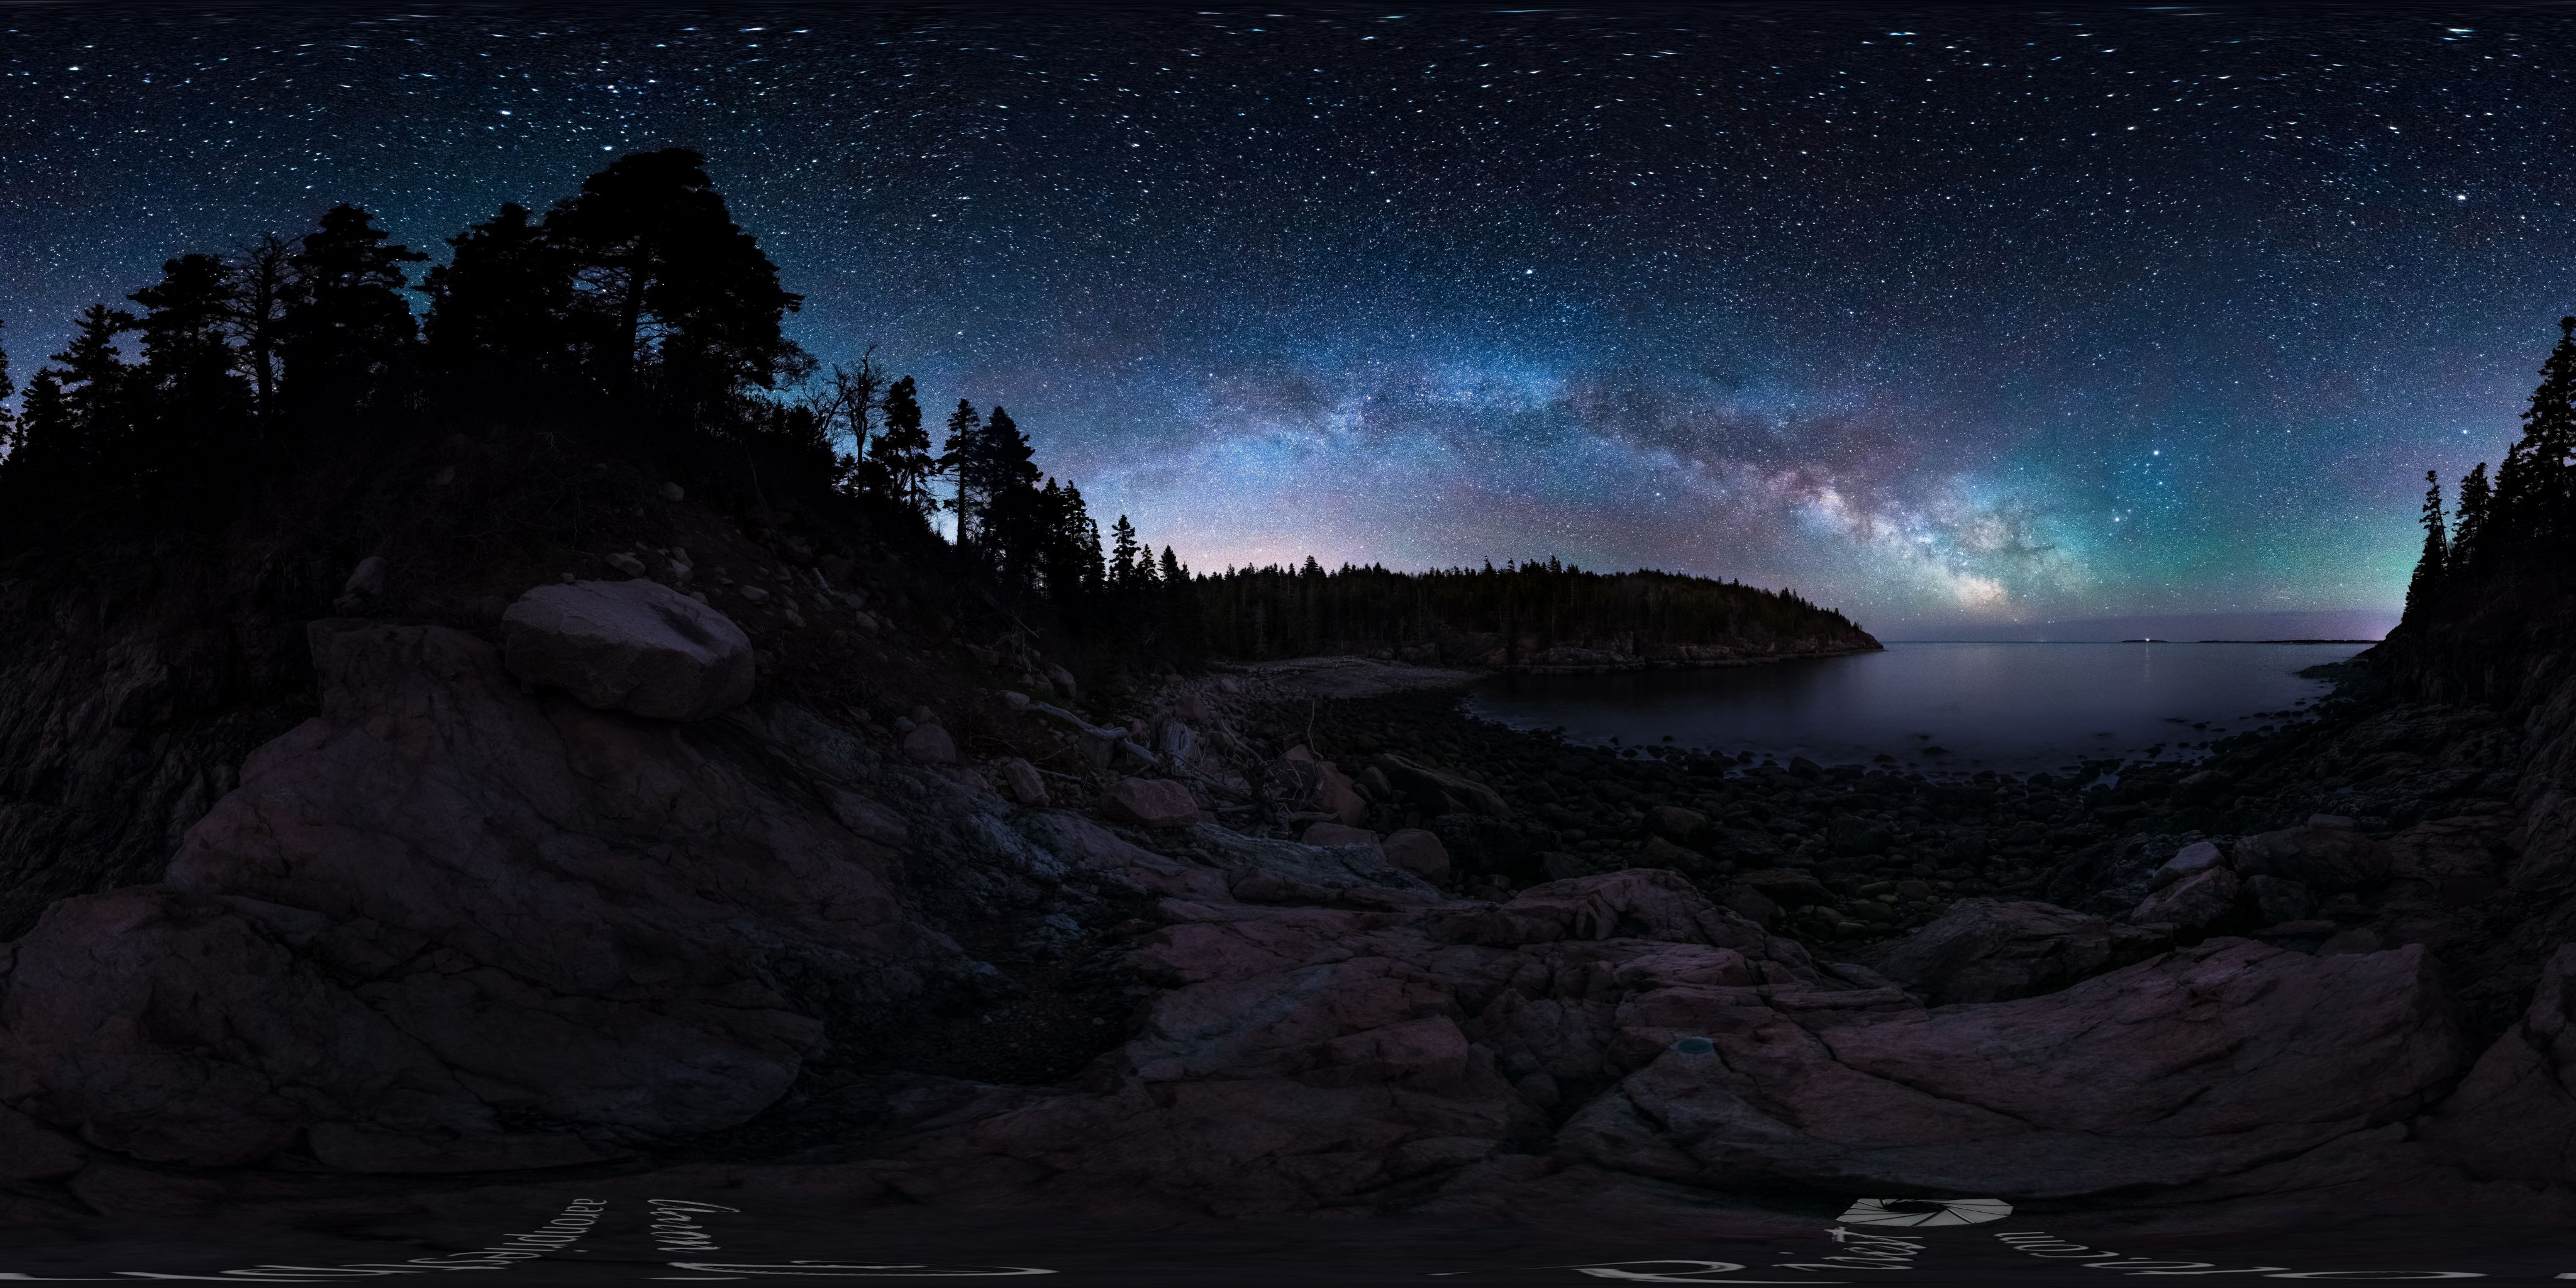
I found this photosphere and I'm going to use that in my example. Feel free to find your own (or use the one I found!). Download the photosphere: it has to be a .jpg or a .png file.
We're going to bring photospheres into our project in the same way that we brought in 3D models. First, drag the image file into the assets folder of your Glitch project, just as you did with the file for your 3D model.
Then, to make the photosphere the background of our scene, we can add an a-sky element to our scene and we give it a src attribute. For the value of the src attribute, we use the the URL of our photosphere:
<a-sky src="https://cdn.glitch.com/7e18fbf8-9686-4cf7-91f9-4a6bbdb54f5e%2Fsky.jpg?1544174075054"></a-sky>
Remember, to find the URL of any of the files you've uploaded to your Glitch assets folder, here are the steps:
1. Click on the assets folder in Glitch
2. Select one of your assets
3. Click the "copy URL" button to get its URL
4. Paste it where you need it
Check out how the photosphere looks in my project. Be sure to look around!
First drag an image file (.jpg or .png) into the assets folder of your Glitch project. I'm going to use this wood floor texture because I want to give my scene a wood floor. You are welcome to use that texture, or you can use any image you want! Once it's in your Glitch assets folder, copy its URL.
Right now, my floor is a green a-plane element that looks like this:
<a-plane position="0 0 0" rotation="-90 0 0" color="#008000" scale="30 30 30"></a-plane>
What's up with the value of the color attribute? What you see there, #00800, is actually the green color! When you see a color formatted this way, you're using something called a hex value. You can use this color picker to find the hex value of any color you want.
I don't want the green color anymore, so I'm going to remove the color attribute. Instead of scaling the plane to "30 30 30", I'm going to set the width and height attributes to set the dimensions of the plane.
<a-plane id="floor" position="0 0 0" rotation="-90 0 0" width="30" height="30"></a-plane>
Now, to make your image appear on the plane, you can use the src attribute. Set the value of the src attribute to the URL of your image.
When I first checked out my scene, the image looked really funky, and I had to experiment with a few different attributes before I got it looking how I wanted. There's a repeat attribute I found that lets you set how many times the source image repeats in either direction. This solved my issue.
See how it looks now and feel free to edit the values to tinker with the scene!
Tip: To find that repeat attribute, I looked in the A-Frame documentation. I encourage you to check it out. You'll see lots of stuff that we haven't gone over so far in this course - don't be intimidated. Experiment, tinker, and go beyond! Share what you learn with the rest of us.
So far, we've brought in a few shapes, a 3D model, a photosphere, and an image into our gallery. The last element we're going to bring in? Text.
You can make text with the a-text element. In my scene, I want to use some text to welcome users to the scene and give them some instructions. Here's how I can do it:
- make my text say "Frame Academy Project #1" with the value attribute
- move my text in front of the camera with position attribute
- make my textwith the color attribute
- change my text'swith the width attribute.
I found all of these attributes on the documentation page for the text entity, and I encourage you to check out the documentation and experiment with other attributes!
<a-text value="Frame Academy Project #1" position="-2.15 2 -2.29" rotation="0 10 0" width="4" color="black"></a-text>
Here's how that element shows up in my gallery.

My text element gets the job done, but it's pretty difficult to read the text until you get up close to it. The reason for this is because there isn't much of a contrast between the color of the text and the color of what's behind it. It's dark text on a dark background.
To make the text pop out more, I'm going to put a plane entity right behind it and give the plane a bright color: orange.
I know I want the rotation of the orange plane to be the same as the rotation of my text, and I want it right behind the text. I used the A-Frame Inspector to find the right position so that it was right behind the text element. Reminder: you can open the A-Frame Inspector by pressing control-alt-i on your site. Here is my plane element and my text element:
<a-plane position="-1 1.69 -2.5" rotation="0 10 0" scale="2.75 1 1" color="#faaf52"></a-plane>
<a-text value="Frame Academy Project #1" position="-2.15 2 -2.29" rotation="0 10 0" width="4" color="black"></a-text>
Here's how that looks in my 3D site.
Although it's not super stylish, at least the text is a bit more clear now. I'll make it better in the Challenge!
Add a photosphere, flat image, and some text to your 3D site. If you want, share a link to your Glitch project so we can check out your project, either in our online community or on social media with the hashtag #framevracademy
If you run into any issues or have any questions, ask in our online community!
Experience the future of remote collaboration with immersive 3D spaces that bring your team together like never before.
Start your free trial today and see the difference.

